
Allocating your AV1s
In this guide
What are the benefits?
Following the allocation process in AV1 Admin has an array of benefits built with you in mind.
Record keeping
You will have a detailed history of allocations – including why the AV1 was used and who managed it at the school.
Usage tracking
The system logs how frequently the student used their AV1 and the duration of calls – so you can identify trends or check it’s being used as expected.
Impact reporting
AV1 might be considered a success if it helped the student fully reintegrate back to lessons in person. In other instances, success might mean a few more hours of learning than expected and improved positive feelings about belonging in school. AV1 Admin helps you track this success by setting goals at the beginning of an allocation, and reporting on the outcome at the end or ‘deallocation’.
How do I allocate my AV1s?
Accessing allocation features in the AV1 Admin portal
Upon logging into the AV1 Admin portal, you will see two key options at the top of the dashboard: 'Start new allocation' and 'End an allocation'.
Only the Administrators in your organisation will have the ability to allocate or deallocate AV1s.
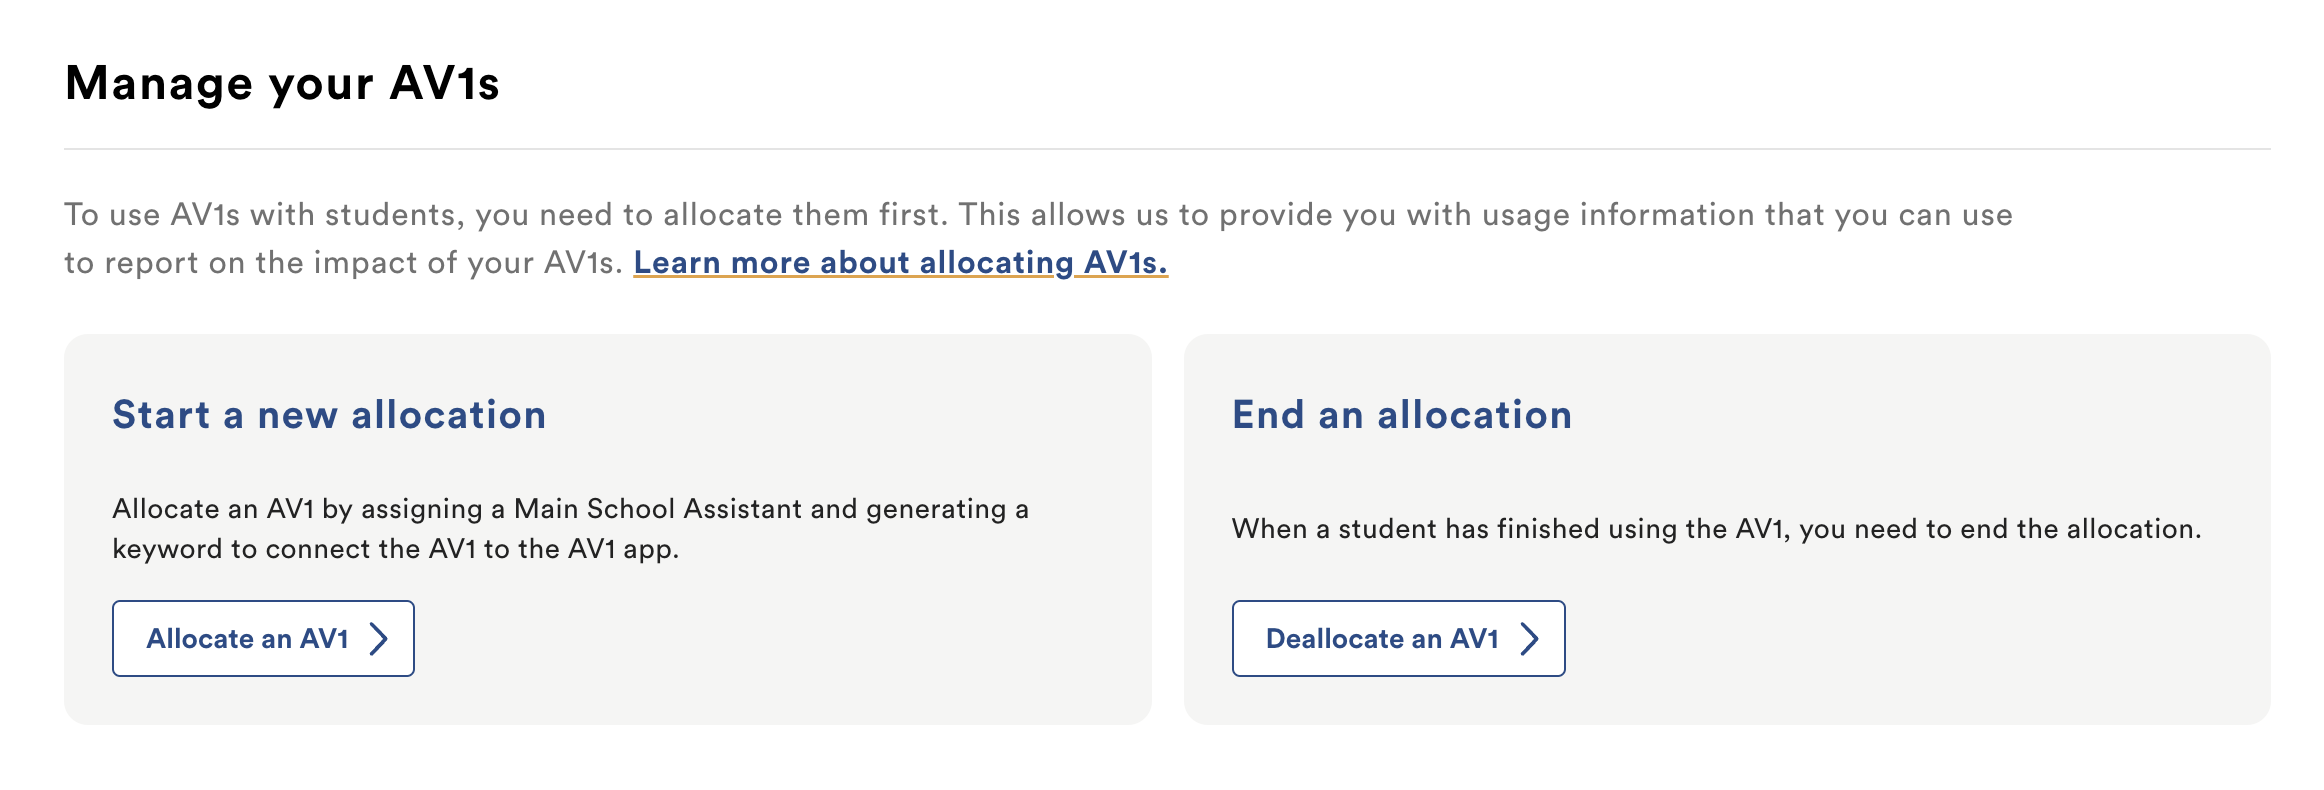
Starting an allocation
To start an allocation, click the 'Allocate an AV1' button to open the allocation process. Alternatively, you can start the process from the individual page of the specific AV1 you wish to allocate.
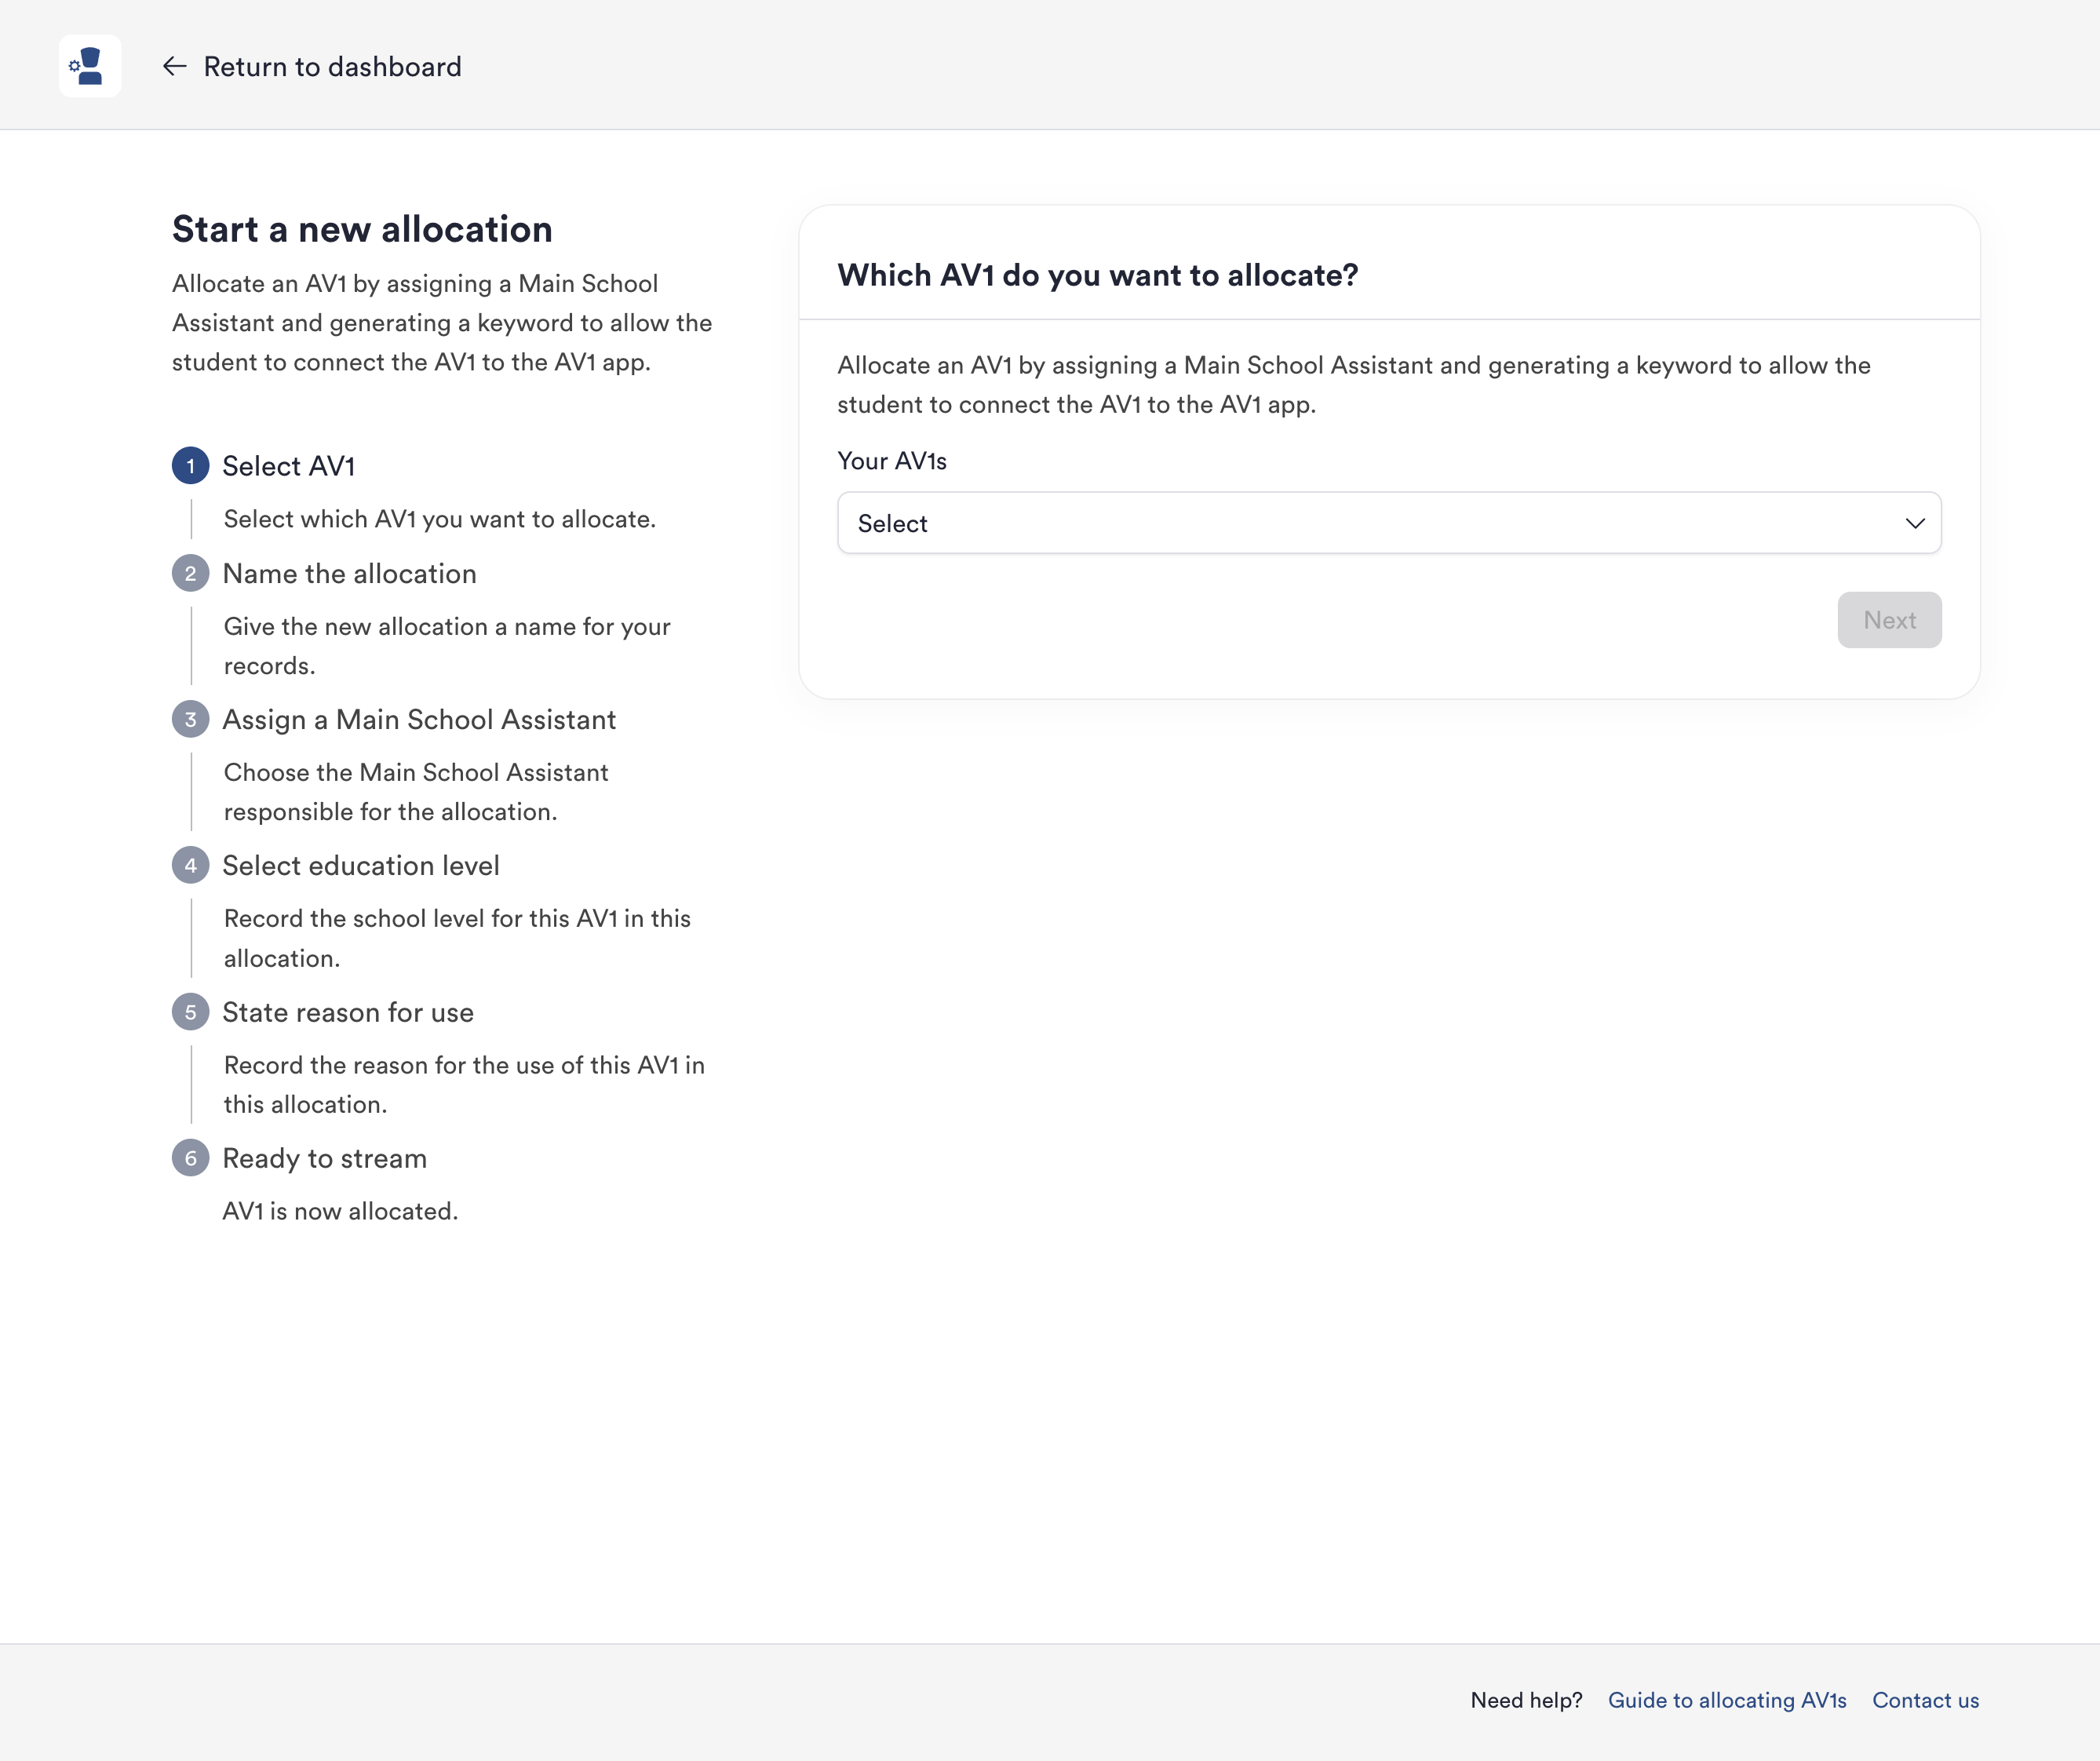
Select AV1
Choose the AV1 you wish to allocate. The dropdown list will show the serial numbers of all AV1s that are currently available to allocate
Name the allocation
Provide a name for this allocation. This name will be used to identify the allocation in your allocation history. You can also provide a description if you need to add any notes about this allocation.
Do not use any names or add information in the description that could identify the student using the AV1. No Isolation does not require or ask for any personal data about the AV1 user. See our Privacy resources.
Assign a Main School Assistant
Each allocated AV1 needs a Main School Assistant responsible for managing the robot. The allocated AV1 will appear in the Main School Assistant’s view in the AV1 Admin portal, so they can manage the robot for the duration of the allocation.
In this step, you will be able to select an assistant from your list of AV1 Admin users, or choose to invite a new user to become the Main School Assistant for the AV1.
Inviting a new assistant
If you decide to invite a new assistant to the AV1 Admin portal, you will need to provide their email address and name. You can also grant them permission to unblock the AV1s they are connected to.
The new user will receive an onboarding email prompting them to create an AV1 Admin account. This email will include guidance on the technical setup of AV1s, tips for preparing implementation in school, and instructions on how to effectively teach with AV1.
Select education level
Indicate the education level the AV1 will be used for during this allocation. We have provided a number of options that cover the education levels in the countries AV1s are used in, so you can select the country of use and the relevant education level of the student using the AV1. If you do not find the appropriate country, select the "Other" option.
State reason for use
In the final step, we ask you to specify the primary reason for allocating the AV1.
The options available are:
- Medical reason
- School non-attendance
- Other (if neither of the above options apply)
- I do not want to disclose this information
Providing this information helps in generating accurate reports on AV1 usage. However, if this detail is not relevant for your reporting needs, you can choose to skip this step

After completing these steps, your AV1 is ready for use.
A keyword is generated as part of the process, and this keyword can be shared with the student to connect the AV1 to their AV1 App.
Ending an allocation
When a student has finished using the AV1, it's time to deallocate it. To end an allocation, follow the following steps.
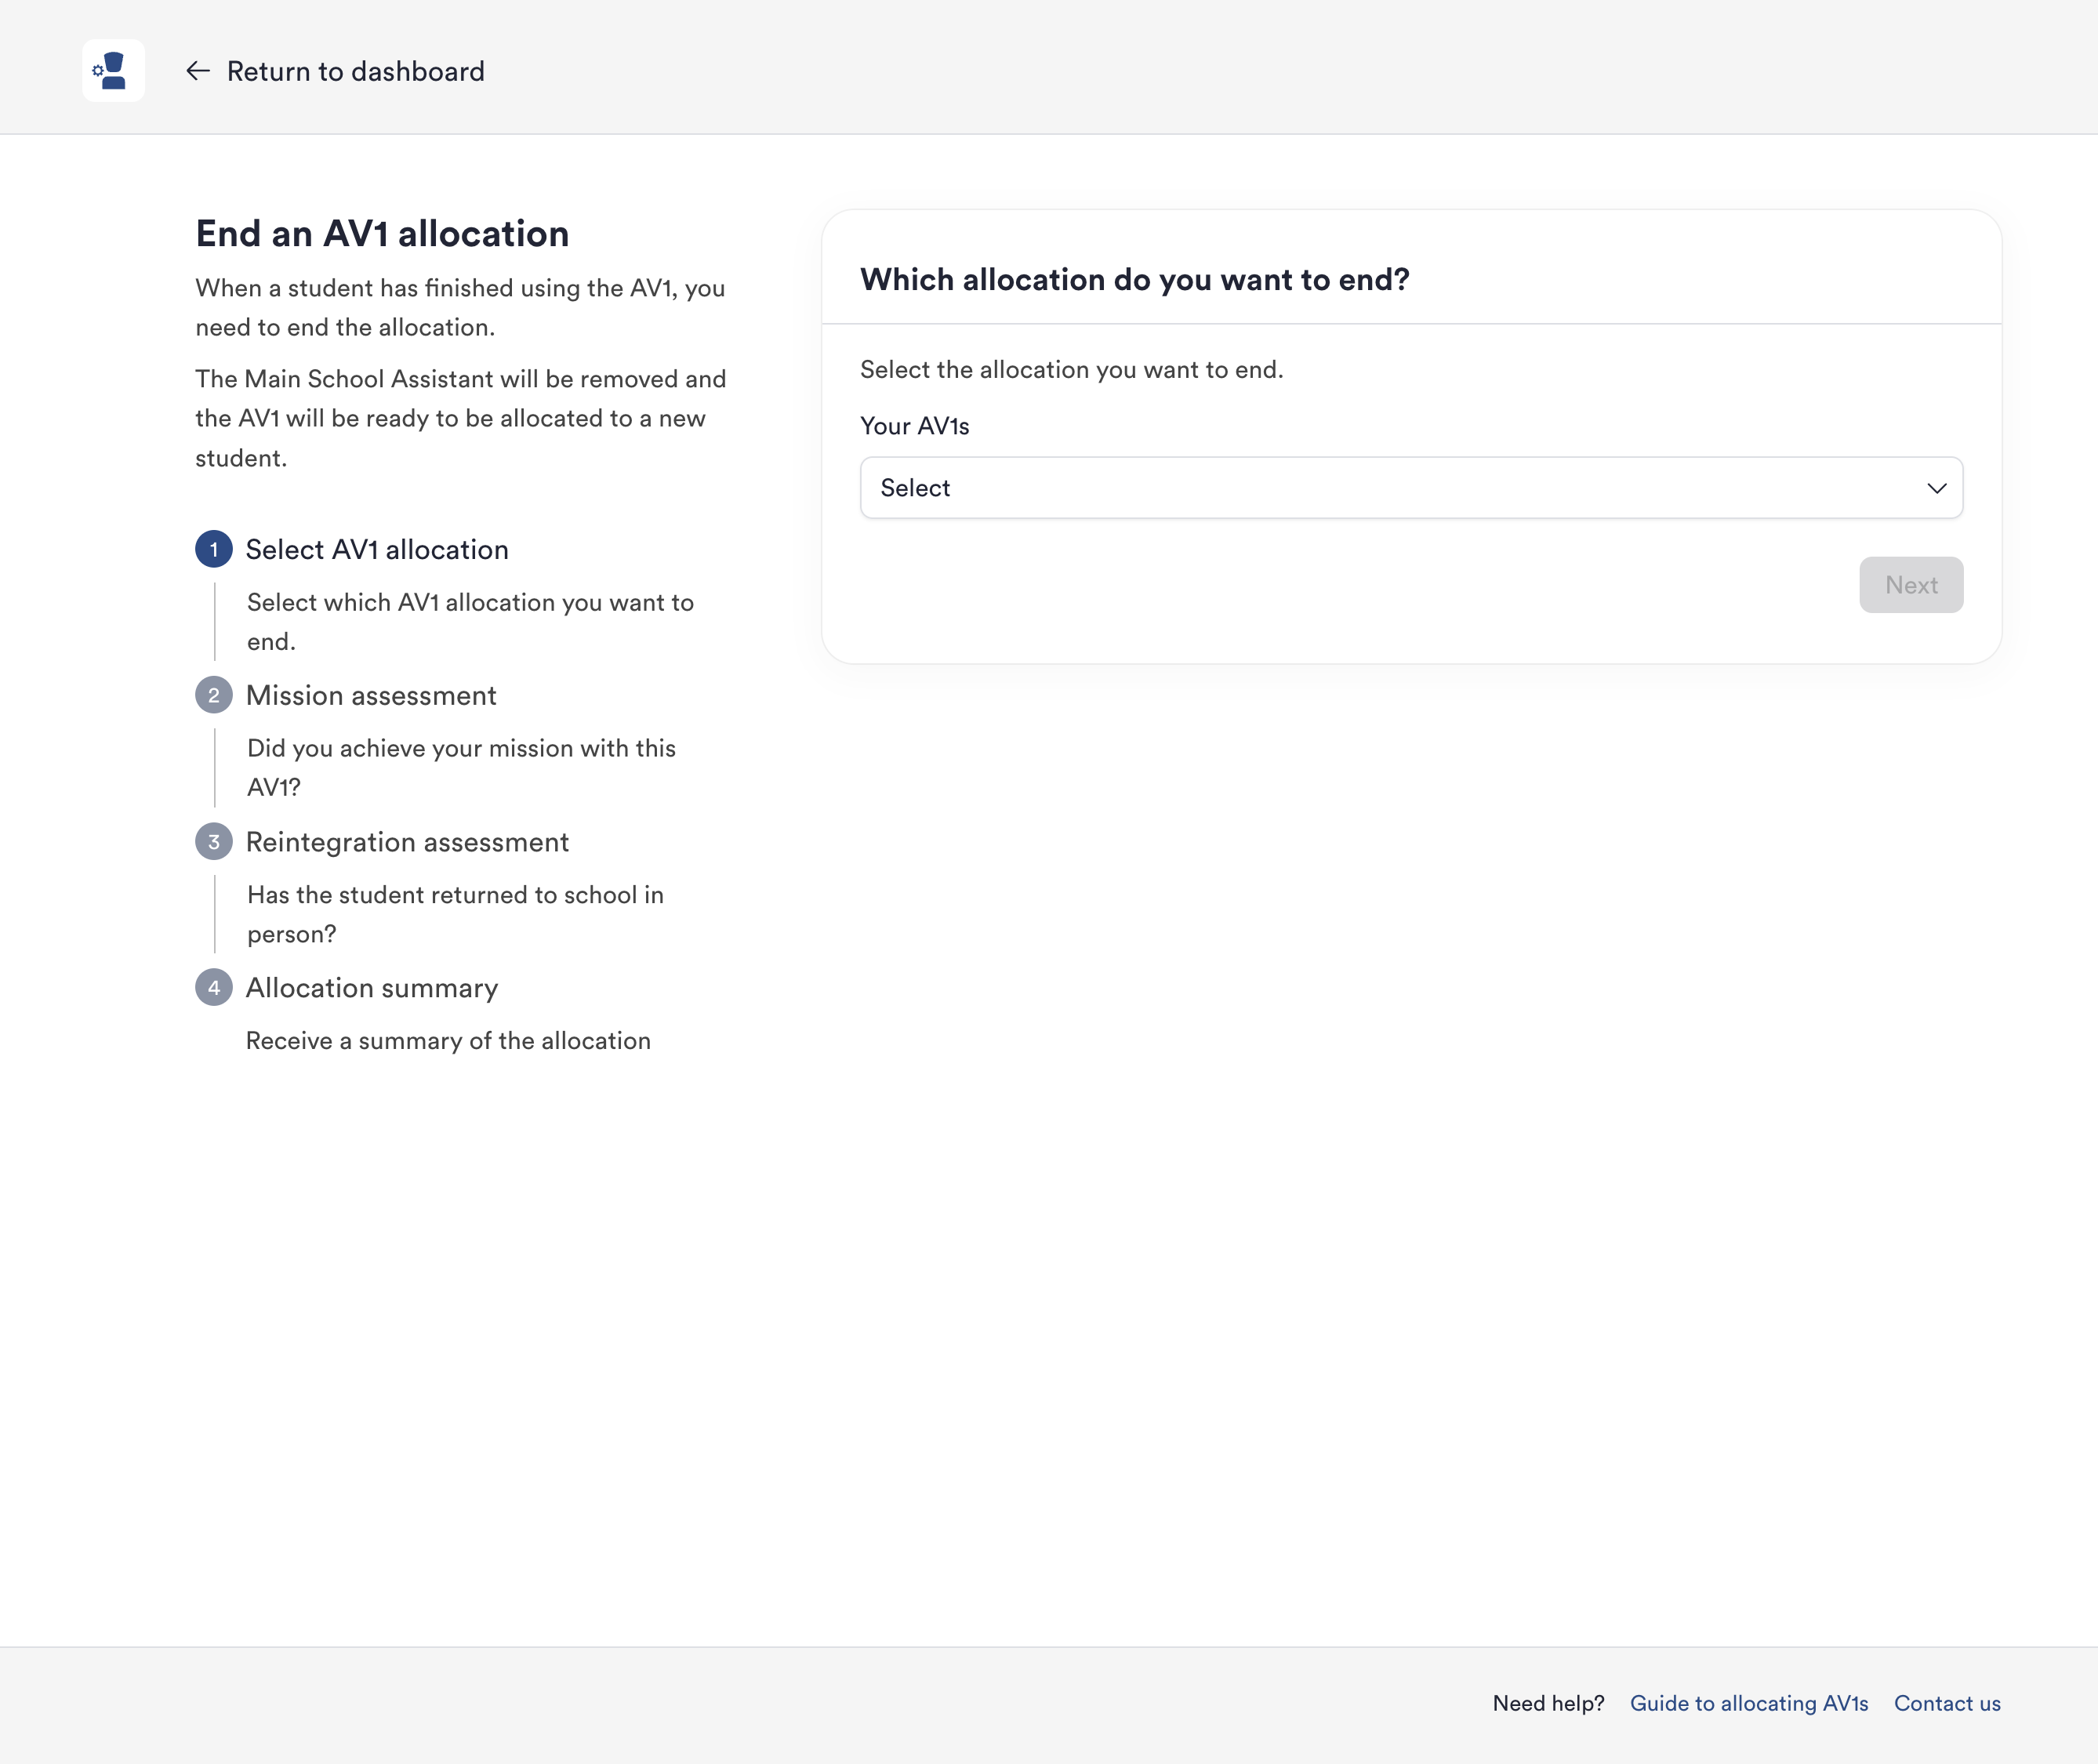
Select AV1 allocation
Choose the allocation you need to end from the dropdown list of currently allocated AV1s.
Mission assessment
Indicate whether the AV1 helped achieve the goals set at the time of allocation. This information will be recorded in the allocation history to assist in reporting on the effectiveness of the AV1 in supporting your students.
Reintegration Assessment
Complete the reintegration assessment. One of No Isolation’s goals is for AV1 to facilitate a return to in-person schooling and lessons. Indicate whether the AV1 helped with this reintegration. If reintegrating the student was not the goal, you can state this as well.
After completing these steps, the deallocation process is complete, and the AV1 is ready to be reallocated. You will be given a summary of the information about the allocation that will be recorded in your allocation history.
The Main School Assistant and any other connected assistants are disconnected from the AV1 and it will be removed from their view of the portal.
Managing allocations from an individual AV1 page
Allocated AV1s
When you click on an individual robot you will see its current allocation status at the top of the page. The robot in this example has been allocated to a school.
Both Administrators and School Assistants associated with this robot will be able to see streaming data for this ongoing allocation in the “Allocation analytics” section.
To end the robot's current allocation, click "End this allocation". This action will direct you to the deallocation process with this AV1 preselected.
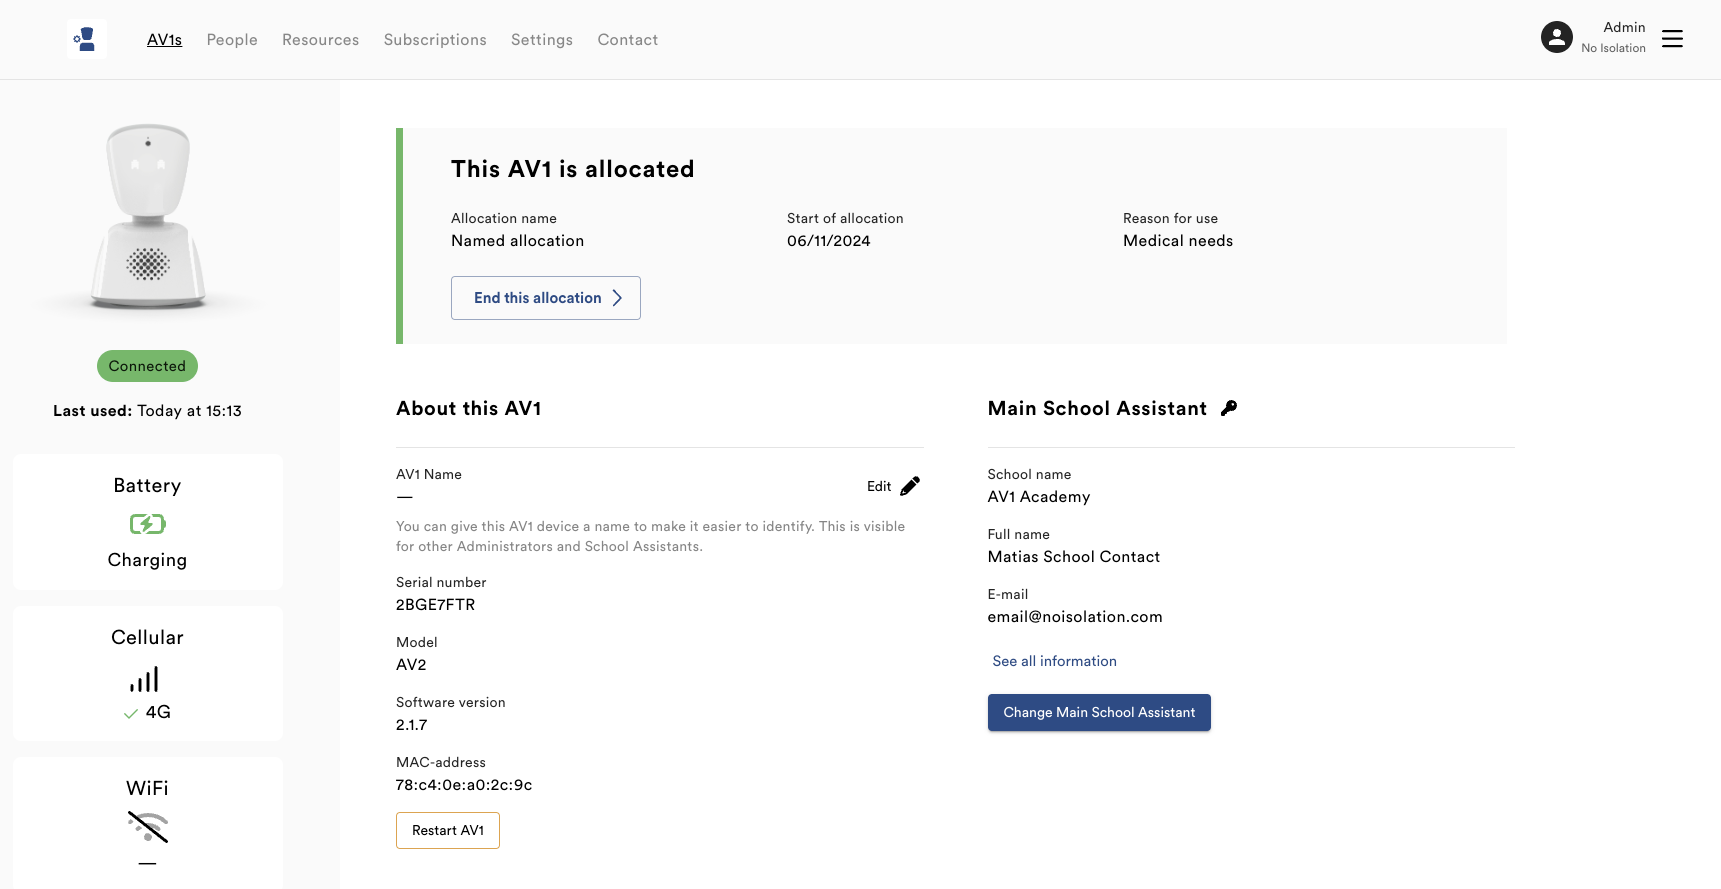
Changing the Main School Assistant
All allocated AV1s require a Main School Assistant for the duration of the allocation. If there is a change in who will manage the AV1, you can update this information by clicking the "Change" button in the Main School Assistant section on the allocation page.
The Main School Assistant assigned to the AV1 at the end of the allocation will be recorded in your allocation history.
Ready to be allocated
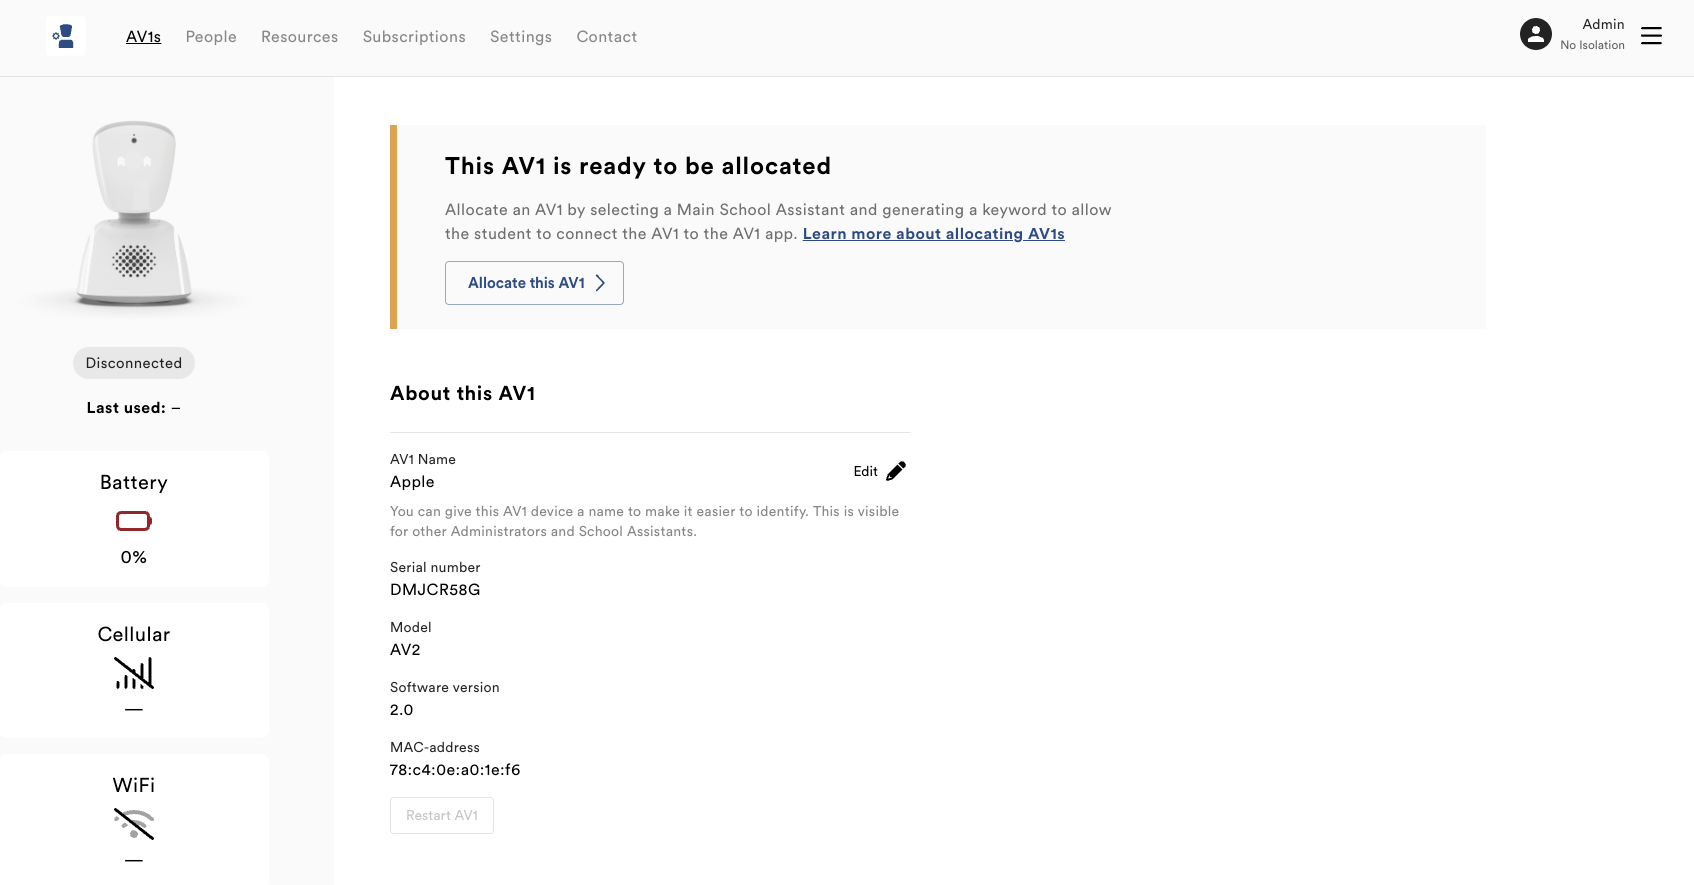
The robot in this example is ready to be allocated. When you are ready to allocate, click "Allocate this AV1". This action will direct you to the allocation process with this AV1 preselected.
AV1 unavailable
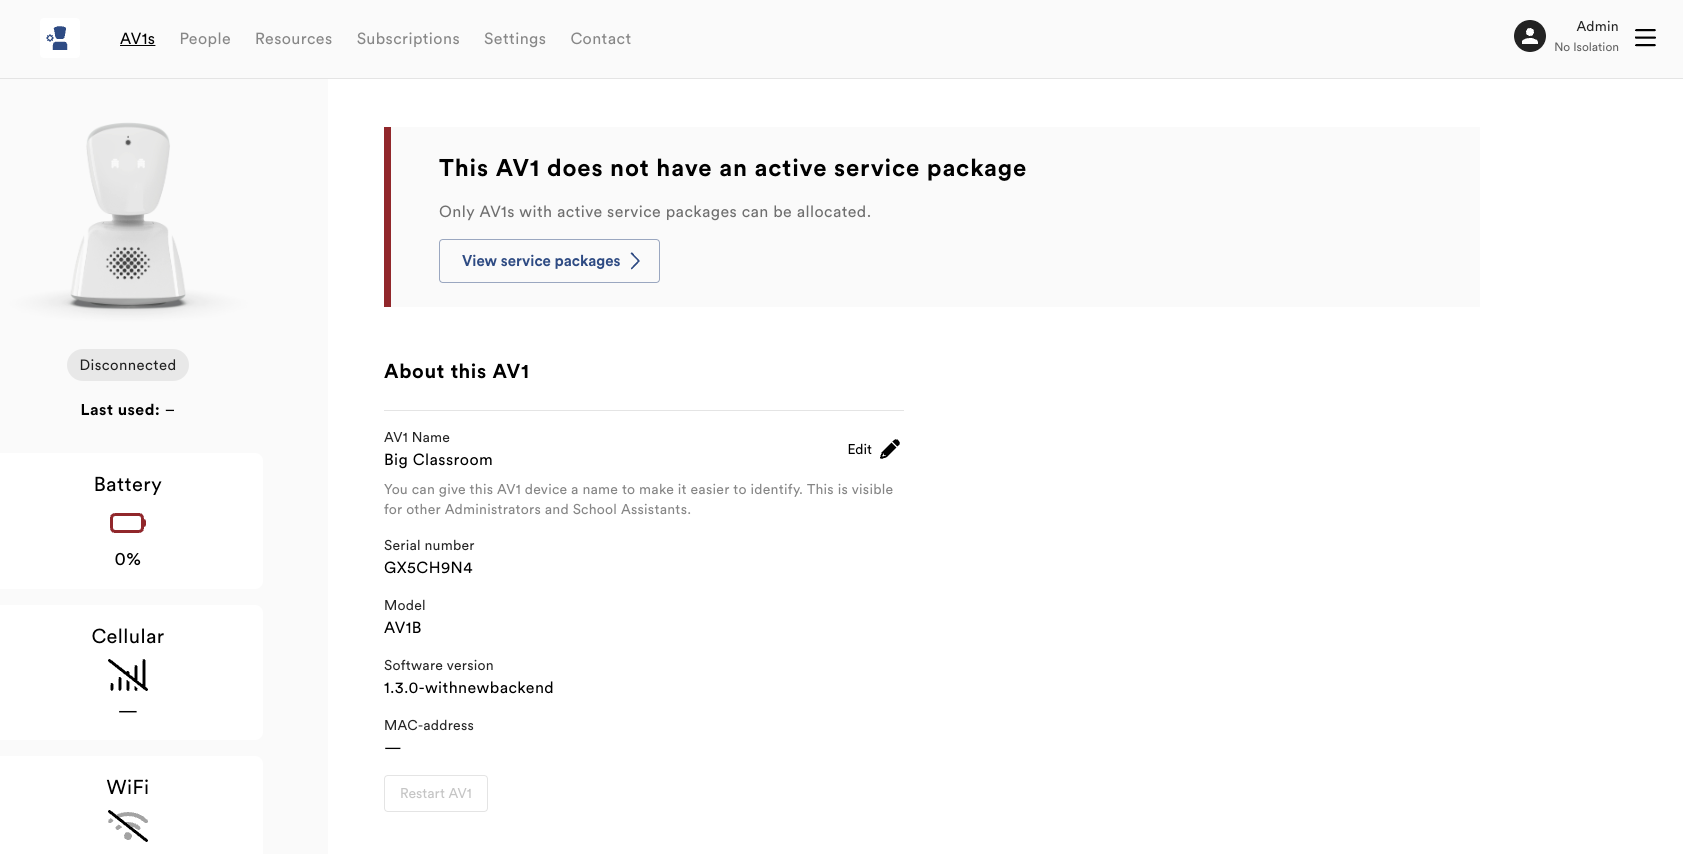
The robot in this example is currently unavailable as it does not have an active service package. You would need contact No Isolation to activate a service package first, before you can allocate this robot to a school.
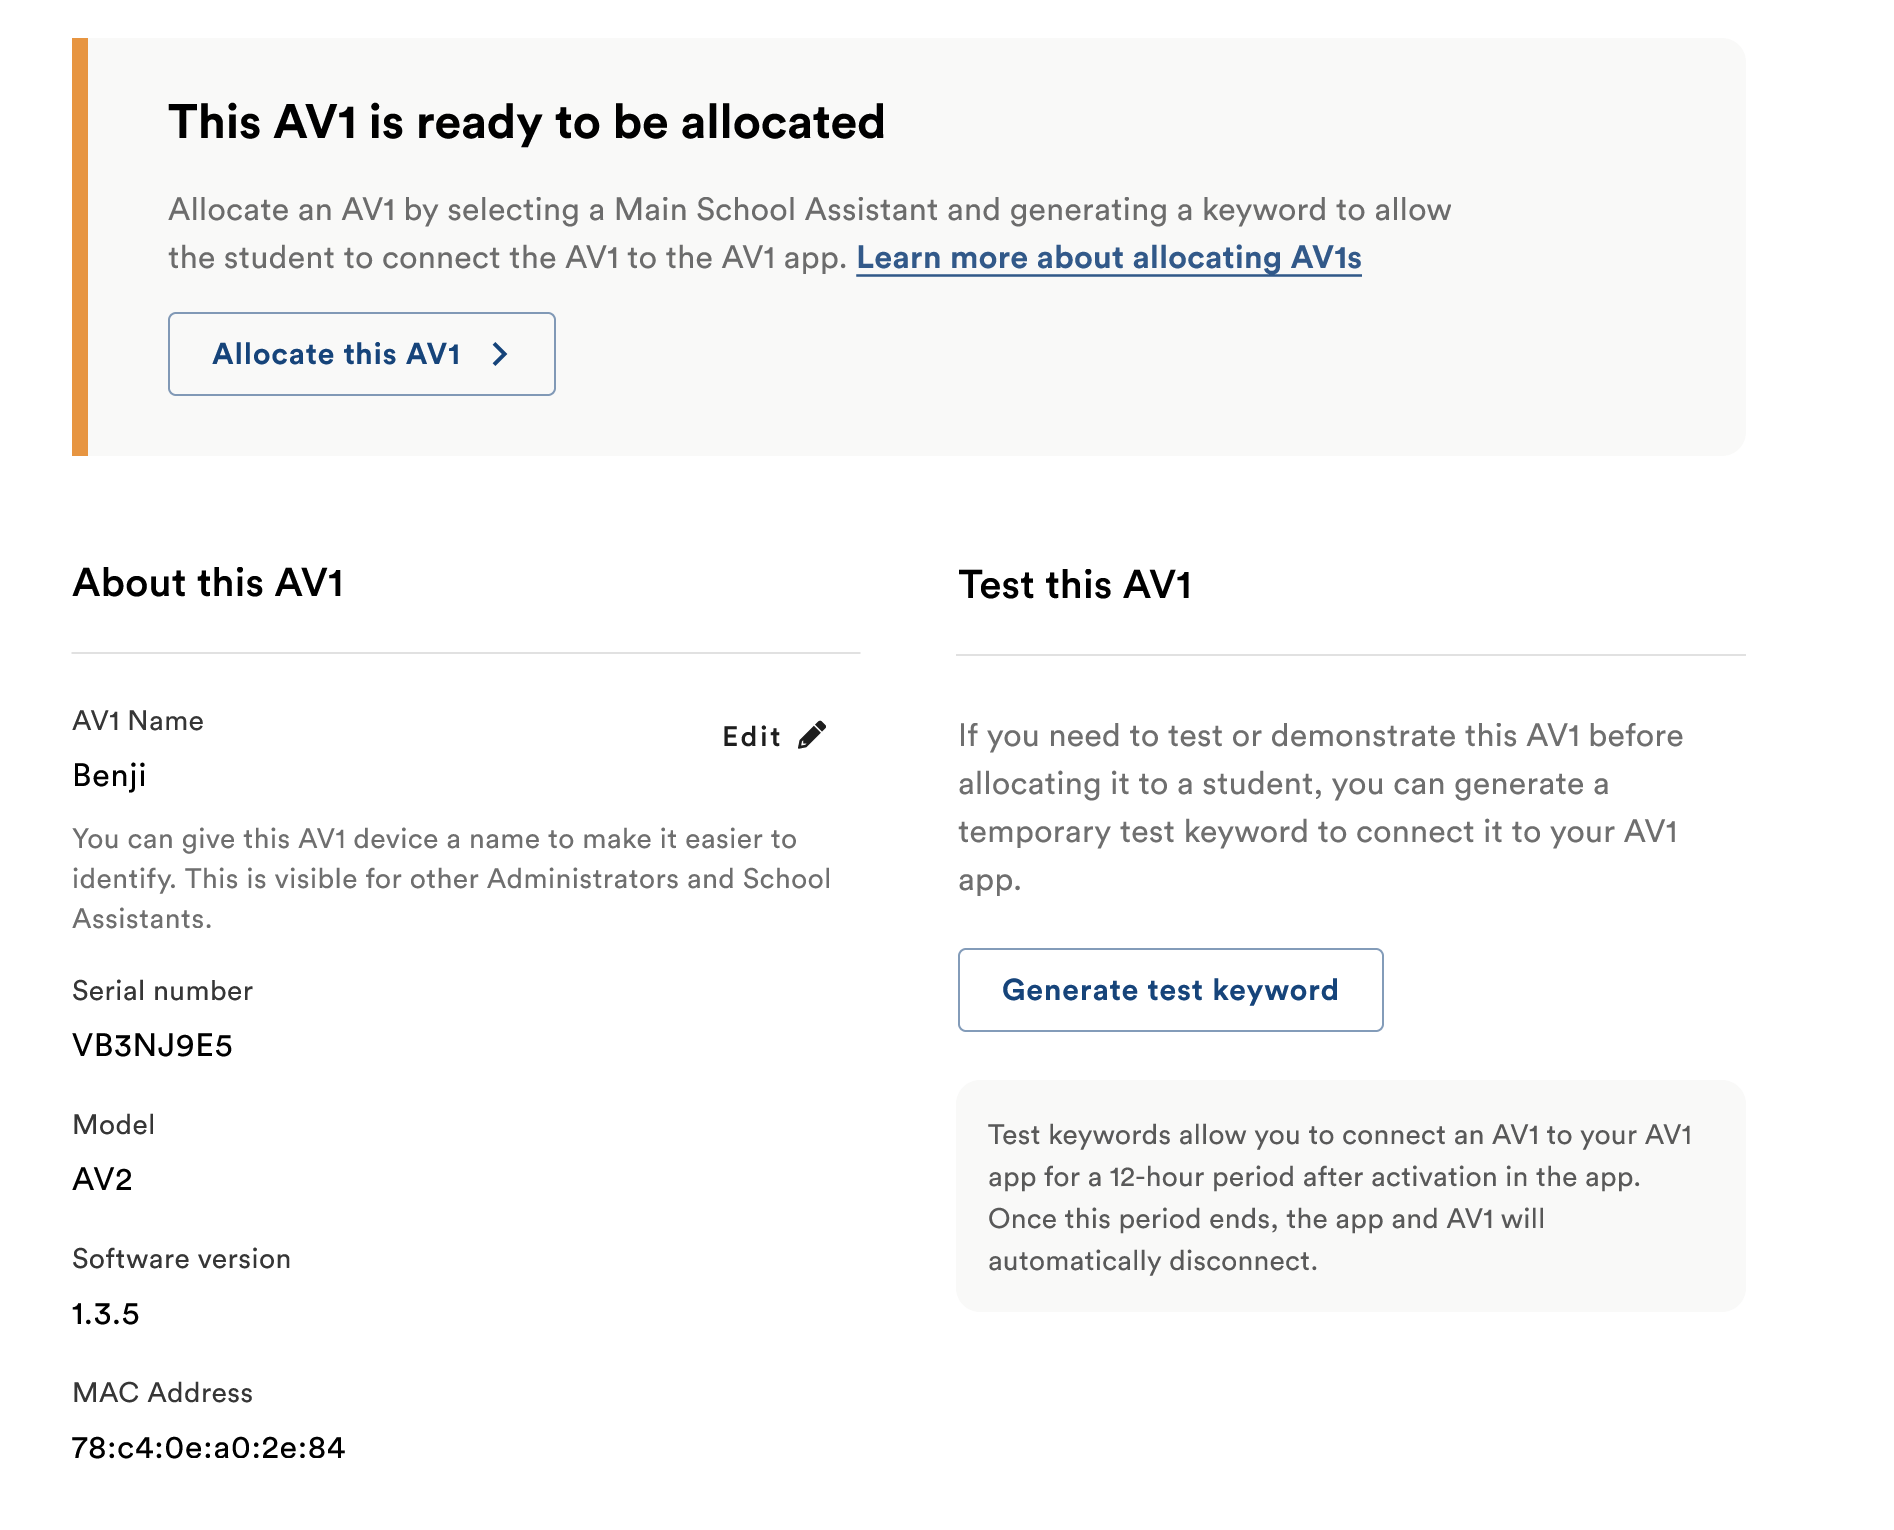
Testing your AV1s
If you want to test or demonstrate an AV1 robot before allocating it, you can generate a test keyword specifically for this purpose. This keyword allows you to connect to the AV1 app for a 12 hour period, but it should not be used for student allocations.
To generate a test keyword, go to the page of the AV1 you want to test and click the ‘Generate test keyword’ button in the ‘Test this AV1’ section. This will provide you with a temporary keyword to use when connecting to the AV1 app.
Once activated in the app, the AV1 will remain connected for 12 hours, enabling you to test or demonstrate its functionality without needing to allocate it. The AV1 and the app will be automatically disconnected after this 12 hour period.
Please note that streaming data will not be collected while connected with a test keyword.
Allocation analytics
You will have access to streaming data for all allocations. Administrators and any assistants connected to the allocated AV1 can use this feature.
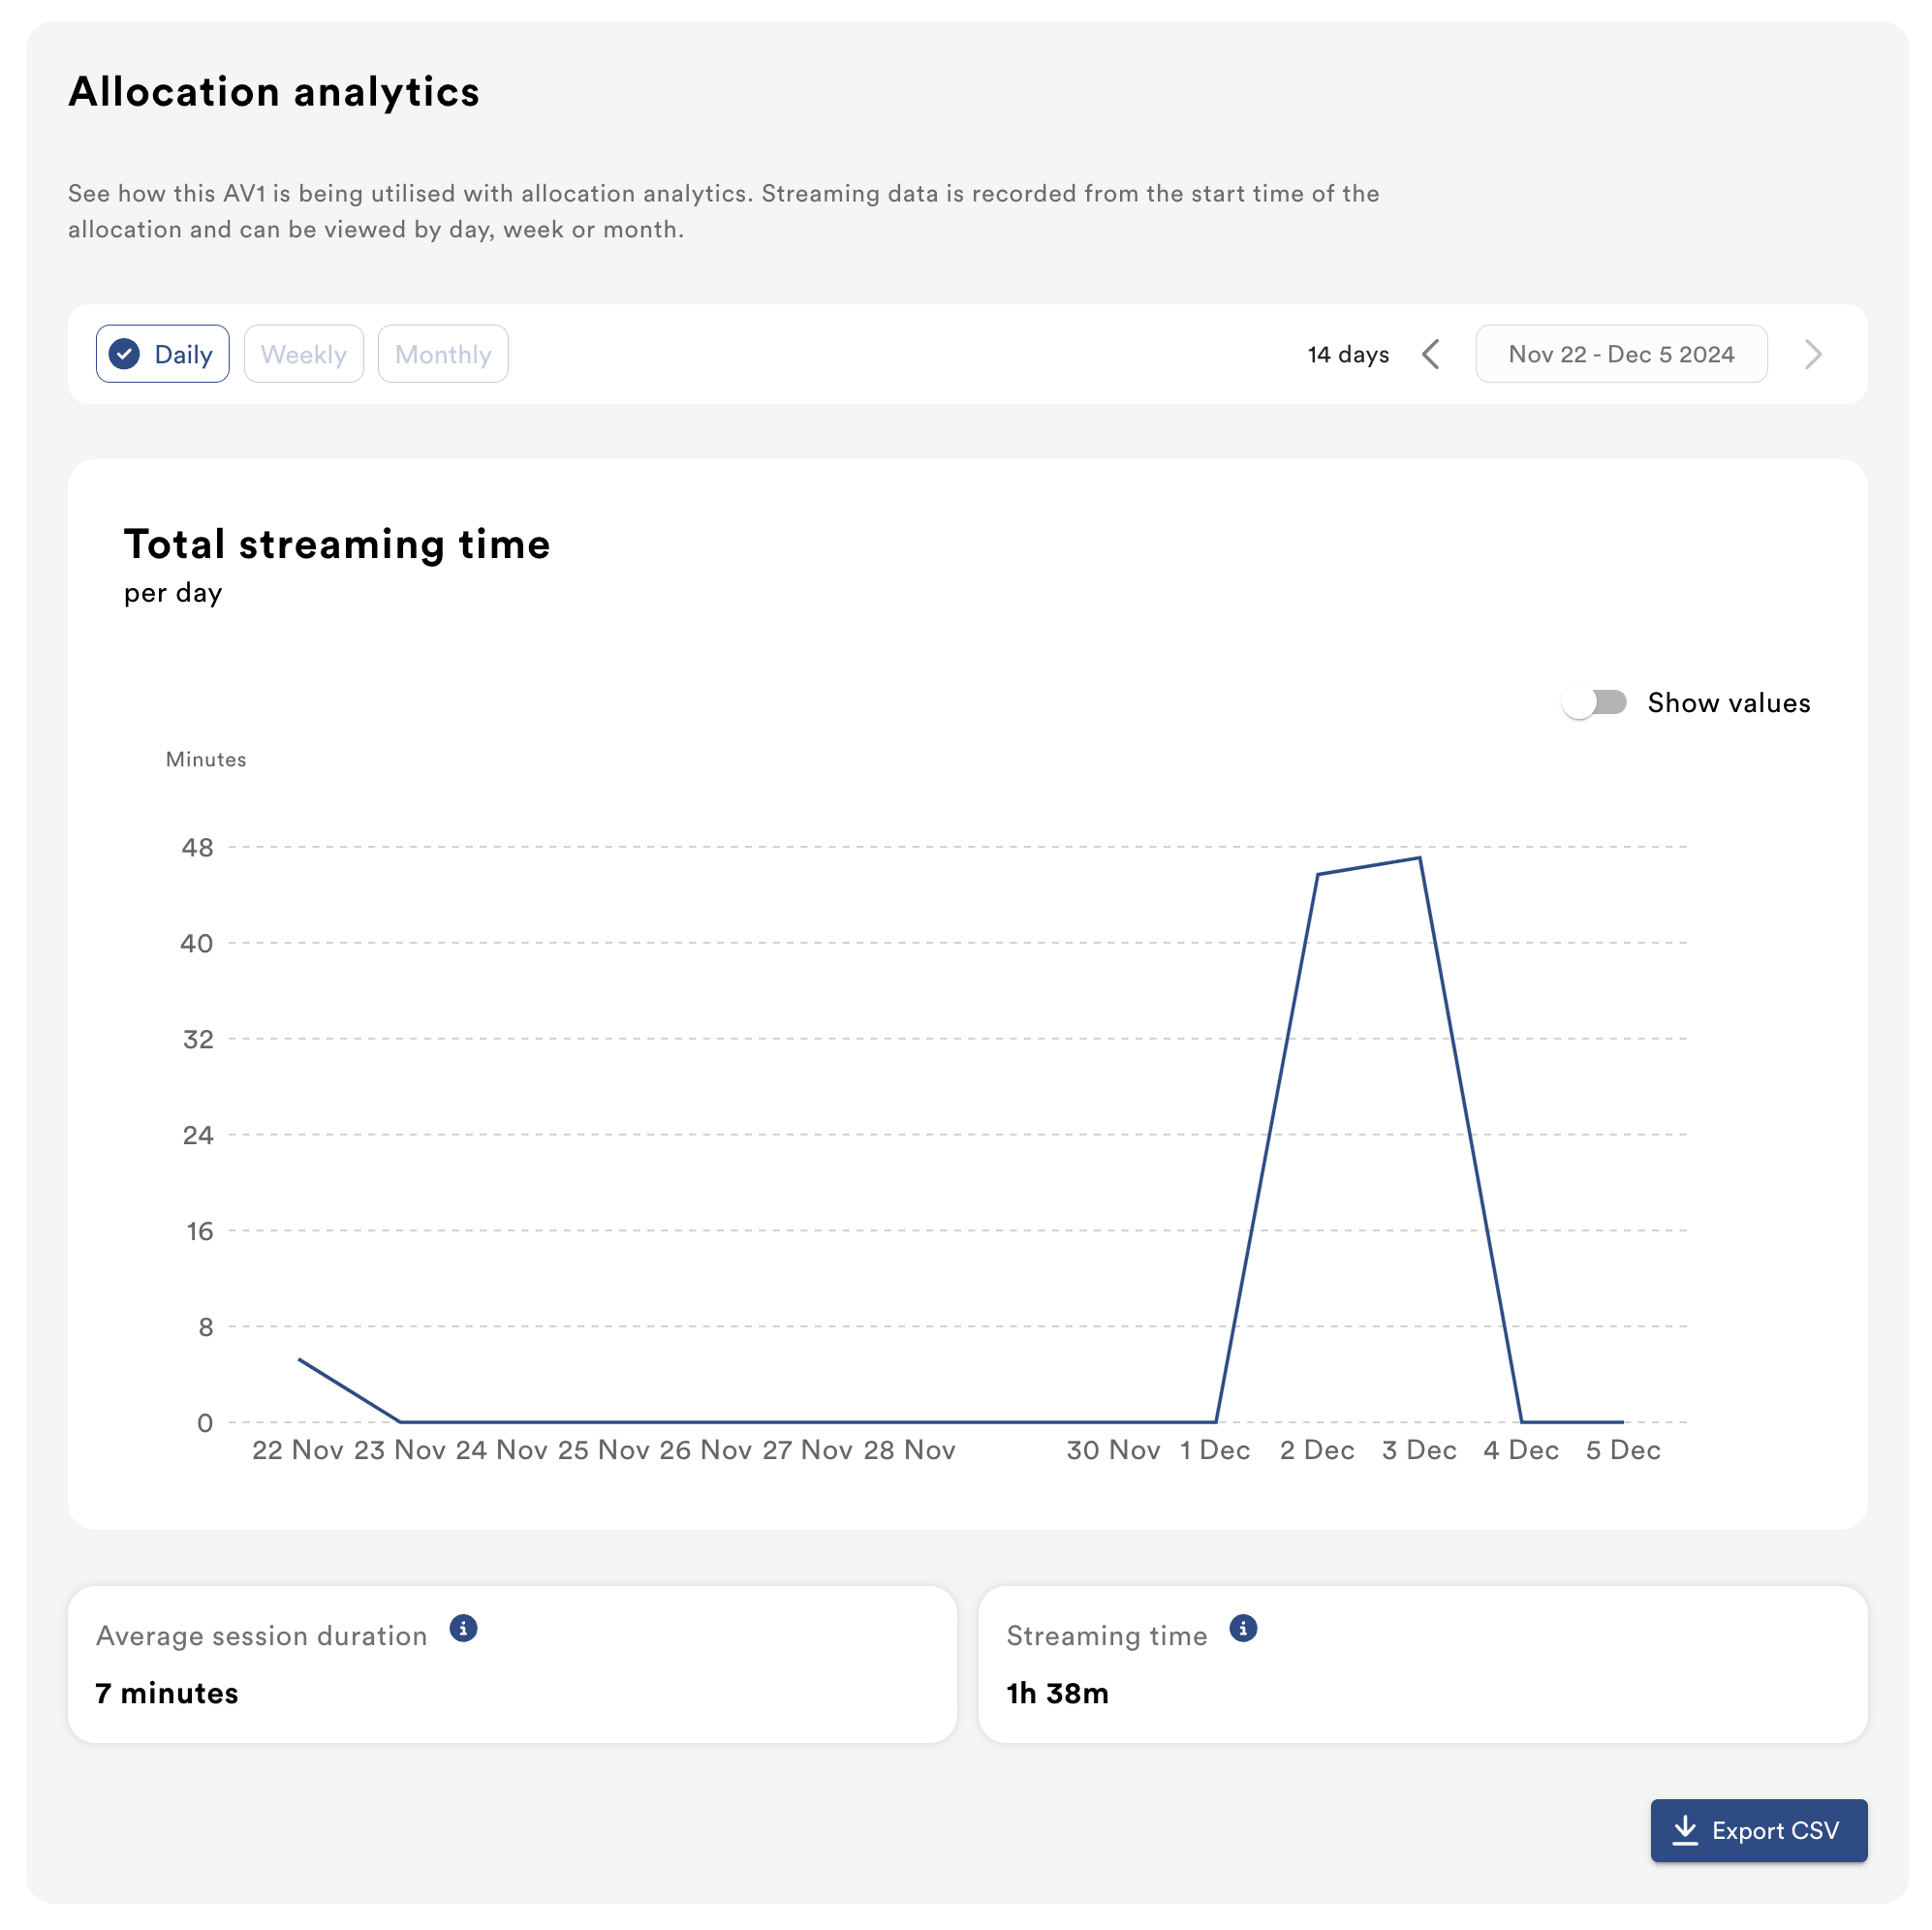
The allocation analytics panel on the individual AV1 page provides detailed usage statistics. You can view the average duration of streaming sessions, and the total streaming time for the period selected. You can filter this data to display information for a specific time frame within the allocation duration.
